Lenovo’s line of Yoga Tablets are currently getting the Android KitKat treatment at the moment. If you’ve not rooted your Yoga 8 tablet, you should be able to update just fine without fuss via Settings >> About tablet >> System Update. If you have rooted your device already and modified some files within, you will have a tough time updating the damn thing unless you flash the device first with Android 4.2.
You can download the appropriate Android 4.2 firmware for you device by clicking here. I advice you use Google Chrome for easy translation. You’ll also have to register for a free account to get access to the downloads. This might help too How To Flash Lenovo P780 Firmware and Other Lenovo Phones.
Rooting Android 4.4.2 on the Lenovo Yoga is quite a challenge. The only app that has been found to successfully break it in is a Chinese app called vRoot.
To root the device simply download and install VRoot_1.7.7.7592_Setup. This is the exact version I used to successfully root mine. If the link goes down, do please let me know and I’ll upload my own file and update the link
Make sure you have USB Drivers for Lenovo MTK phones as well as MediaTek USB VCOM Drivers installed.
Also make sure you have USB debugging activated. To do that simply go to Settings >> About tablet and tap the Build Version five times I think. This should activate the developer option under Settings then you can go there and activate USB debugging. Also allow for installation of apps from unknown sources under Settings >> Security
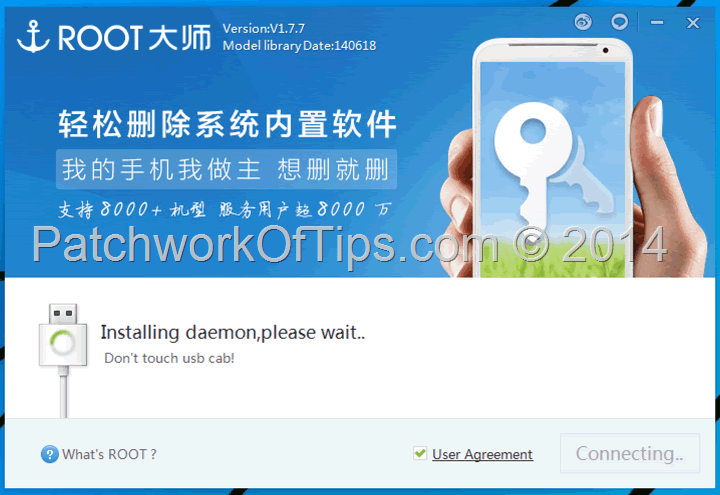
Plug your Yoga device into the computer and launch vRoot.
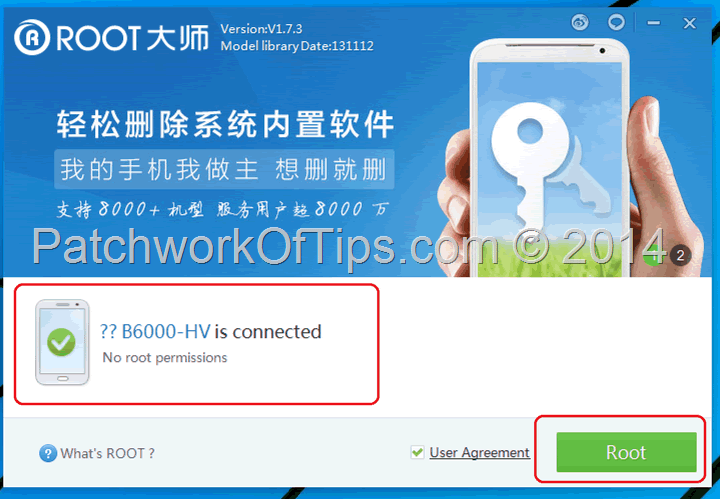
When it eventually detects your device, click on the green Root button as shown below
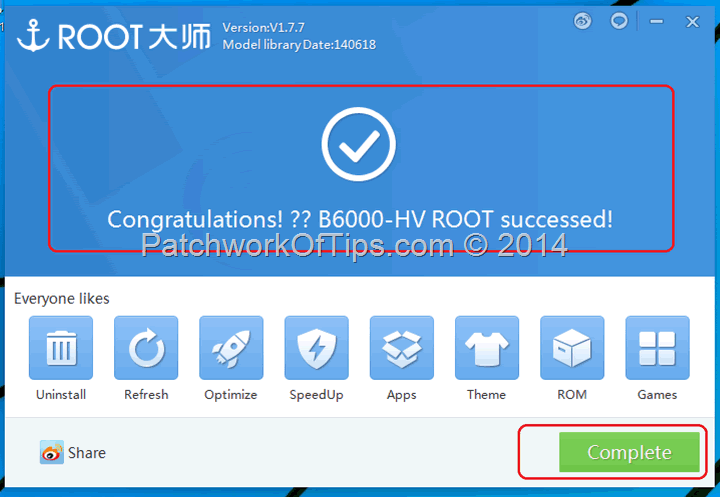
The app will show a spinning blue circle as it starts the rooting process. Your device will automatically restart once and when it comes back on, it should be rooted after a minute. Click complete and detach your device from the computer.
You’ve successfully rooted your Lenovo Yoga 8 tablet running Android KitKat 4.4.2.
This root method unfortunately doesn’t allow for the activation of SuperSu app. Instead vRoot, which has been automatically installed on your device, handles all root access permissions. I tried all I could to replace the app with SuperSu but failed.
On launching vRoot, it should automatically update to version 1.1.4.
Unfortunately I’m having issues getting Titanium Backup Pro to work with it. The app just stays stuck at Checking for root elevation.
Personally, I’ve decided to go without root access on my device as I don’t trust vRoot enough most especially after reading this article.
The Chinese are to be feared. Lol.
I’ll just sit back, relax and wait for a trusted root method from the XDA guys.
UPDATE 26 June 2014: VRoot can now be easily replaced with SuperSu. Simply download this file and copy the mrw folder within to the root of your internal storage. Install Android Terminal Emulator. Open Android Terminal Emulator and type in su.
You’ll be prompted to give terminal emulator root access. Click allow then type in sh /sdcard/mrw/root.sh
Your tablet will reboot and replace vRoot with SuperSu. Launch Play Store and update SuperSu. That’s all.
Thanks to commentator USER123
Source: How to Remove/Replace Chinese VRoot superuser with SuperSu
UPDATE 30 June 2014: There seems to be a new KitKat update as seen here with Build Number:B6000_A442_001_019_140609_WW_CALL. Some folks are reporting that they are having issues rooting the new version even with VRoot.
This tutorial focuses on rooting Build number B6000_A442_001_018_140605_WW_CALL. If I eventually update to the new KitKat build and I’m able to successfully root it, I’ll let you guys now
P.S: Once you’re rooted the tablet, make sure you install SDFix to fix the SD card issues as I noticed apps are not allowed to write to SD card on Android 4.4. Don’t forget to share this tip by clicking the buttons below. Thanks
Also if you for some reason don’t like the new Android KitKat update and you wish to switch back to Android JellyBean, please click here
You’ll also like:
Please share this article to help others. Thanks


