Quick Tip
I just got my first Windows Phone device (Nokia Lumia 730) from Mobility Shop and I’m still setting things up. Overall I think the windows experience is going to a fabulous one. Now as some of you already know, the windows platform isn’t that rich when it comes to apps thus you’d have to rely on alternatives.
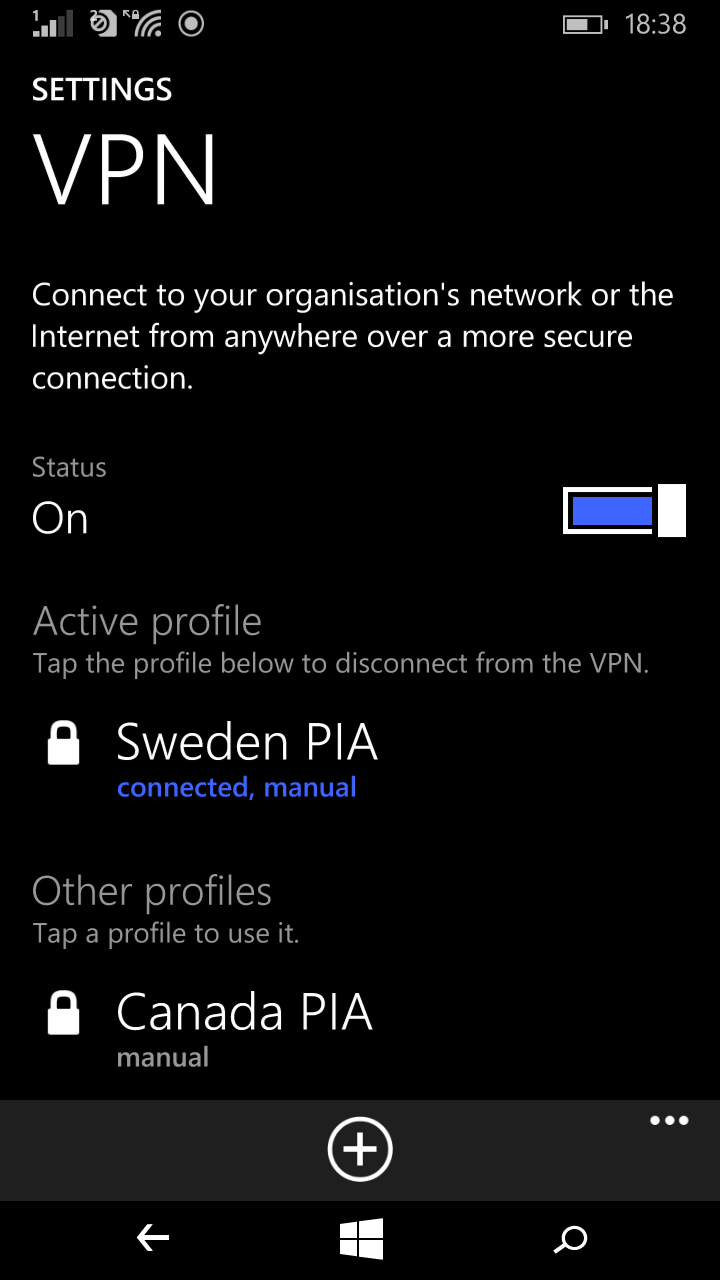
If you own a Private Internet Access account and you’re running Windows Phone 8.1, here’s how you can set up the vpn service using the windows phone default VPN app.
Log into the control panel of your PrivateInternet Access account and setup a PPTP/L2TP/SOCKS Username and Password.
On your phone go to All Settings >> VPN and turn it on after which you’ll click on the + sign. Fill the setup form as listed below
- Server Name: example us-california.privateinternetaccess.com. Full list of server names can be found here.
- Type: L2TP with IPSec
- Connect Using: select pre-shared key
- Pre-shared key: use the word mysafety
- Configure connect automatically and Send all traffic through VPN as you wish
- Profile Name: use a name of your choice
- Save
You’ll be taken back to the main window of the VPN app. Click on the profile you just setup and wait a few seconds.
You’ll be asked for a username and password. Use that which was generated in your control panel at the beginning of this guide. Make sure to tick save password so you don’t have to keep entering the username and password each time you wish to connect to the VPN service.
Click on connect and your windows Phone will atomically connect to Private Internet Access VPN servers.
That’s all there is to it. Enjoy and let me know if it works for you or not.
P.S: I’m currently running the latest Windows Phone 8.1 Developer Preview.
You’ll also like:
- How To Downgrade Windows Phone 10 To Windows Phone 8.1
- How To Post Quick Facebook, Twitter Updates On Lumia Phones
- Resolved: How To Transfer SMS From Android to Windows Phone 8.1
- Resolved: How To Transfer SMS From Windows Phone To Android
- Savage VPN (Free Unlimited VPN)
Please share this article to help others. Thanks
