UPDATE: For some reason, this service no longer works so I switched to using Certify The Web Software for Windows 11. Do check out How To Use Certify The Web To Generate Lets Encrypt SSL Certificates On Windows 11.
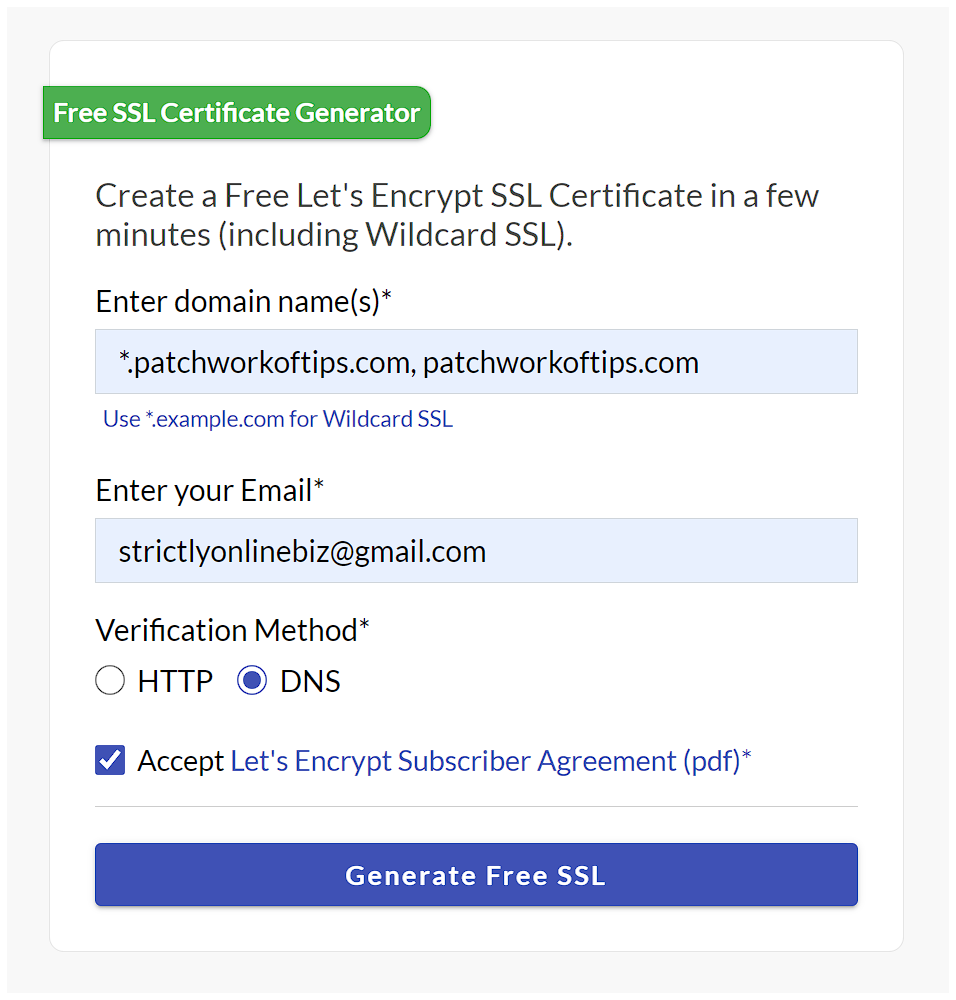
Depending on which service you use, Let’s Encrypt free ssl certificates sometimes don’t cover all variations of your domain name. Using the free service at SSL Free, I was able to get a Let’s Encrypt certificate to cover my entire site on NameCheap shared hosting as shown below.
This quick guide is for advanced users as you need to know how to edit your DNS records and upload ssl certificates via Cpanel. You can refer to the following guides down below for help though.
How to edit DNS zone in cPanel
Installing an SSL certificate on your server, using cPanel
Let’s begin.
Go to SSL Free and enter your details as shown below. Replace the domain name with yours then hit Generate Free SSL.
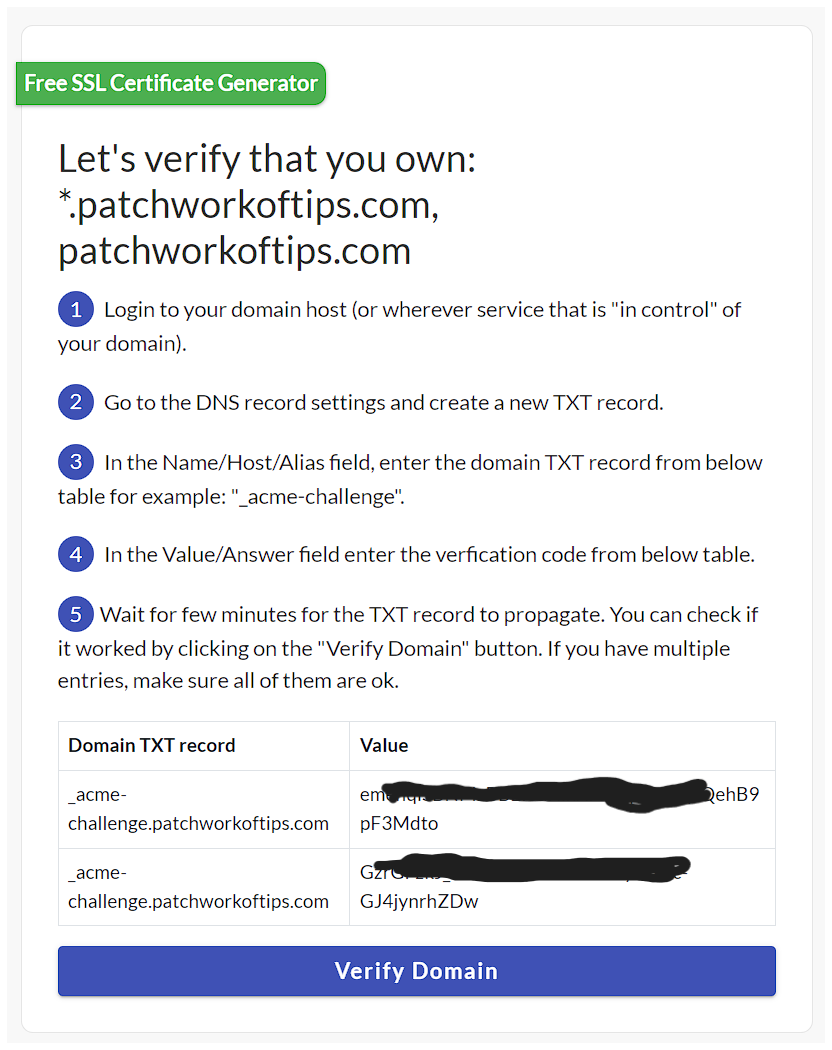
If all goes well, you will be given two TXT records. Follow instructions to edit your domain’s DNS records and add them in. See previous tutorial I linked above, if you don’t know how to.
When you enter both records successfully, this is what they should look like in your DNS records.
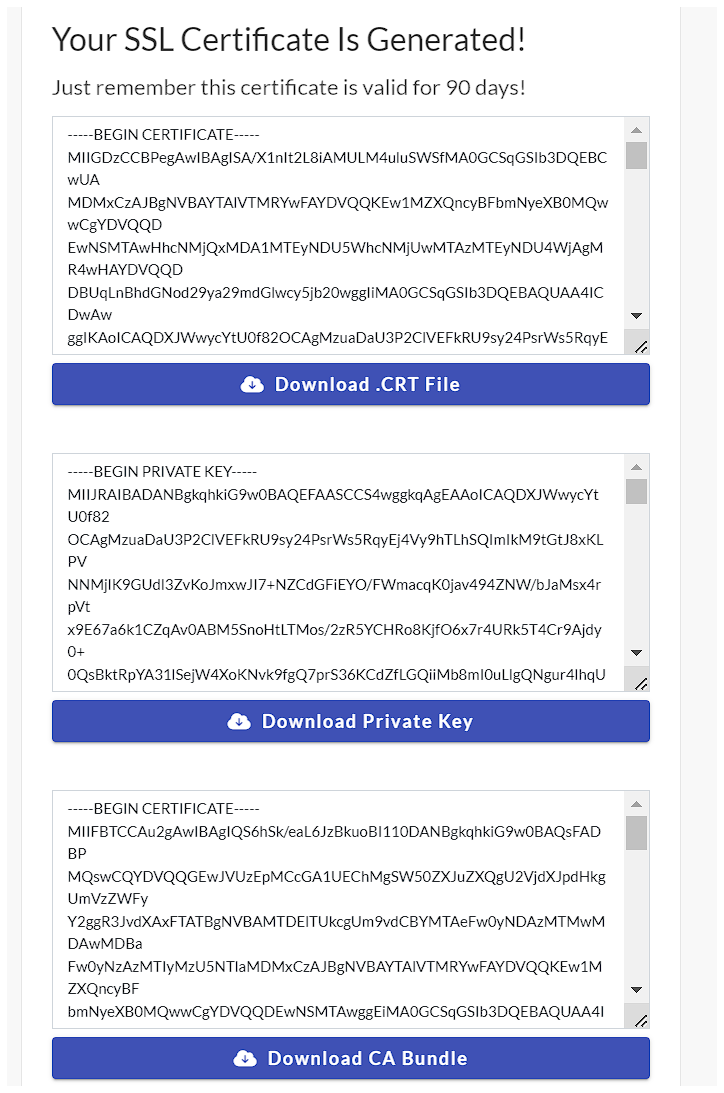
Click the Verify Domain button and if verified successfully, you will be issued a 3 month Free Wildcard SSL Certificate immediately.
If you’re on Cpanel, use this guide to install the certificate and you’re good to go: Installing an SSL certificate on your server, using cPanel.
Hope this helps and remember to set a reminder to generate a new free SSL certificate before this one expires. Considering the services asks for an email address during setup, I’m hoping they will also send out a reminder email to update your free wildcard SSL certificate.
Do let me know if this helps in the comment section down below.
Bye guys.
You’ll also like:
- How To Use Certify The Web To Generate Lets Encrypt SSL Certificates On Windows 11
- How To Install Disqus Comments On WordPress AMP Pages
- How I Setup NameCheap SMTP With WP Mail SMTP: Unsolicited/Bulk Email Error Gone
- How To Setup Hostgator Self Hosted CDN For W3 Total Cache
- I've Registered UdegbunamChuks.com. Get Your Personalized Domain Name If Necessary
Please share this article to help others. Thanks


