For quite a while now I’ve been aware of the fact that mobile billing on the Google Play Store has been activated for Nigeria through 9Mobile’s service; 9Pay. Unfortunately I’ve been unable to set it up. I decided to give it another go today after someone buzzed me complaining that he was having a little bit of issue with this guide >> How To Use Nigerian Debit Cards On Google Play Store and luckily it got it right this time.
Here’s how to go about it.
Table of Contents
Set Active 9Mobile SIM
IMPORTANT: For this guide to work, the main SIM on your device MUST be a 9Mobile SIM. If you don’t have a 9Mobile SIM please get one or you won’t be able to use 9Pay to pay for apps on Google Play Store.
If you’re using a dual SIM phone, I suggest you disable one SIM and leave only the 9Mobile SIM active. If this isn’t possible on your device, remove the other SIM and leave the 9Mobile SIM only.
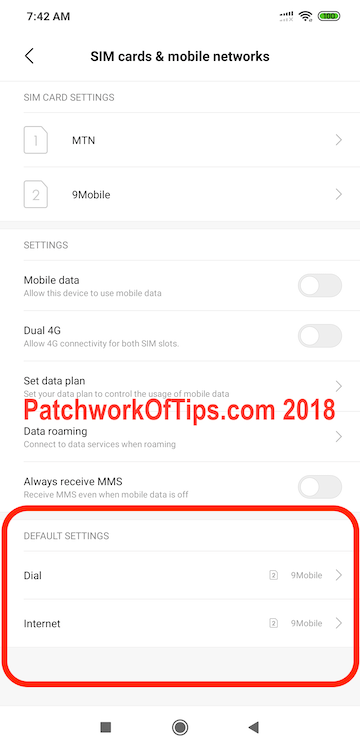
UPDATE 20 November 2018: You don’t have to remove or disable one sim if you have a dual SIM phone. Just make sure that the 9Mobile SIM is set as the default app for calls and internet and you will be good to go.
Open 9Pay Account
You can sign up for a 9Pay account by clicking here >> Sign Up or you can just dial *500# on your 9Mobile line to immediately activate the service. It’s pretty easy and straight forward.
Fund 9Pay Account
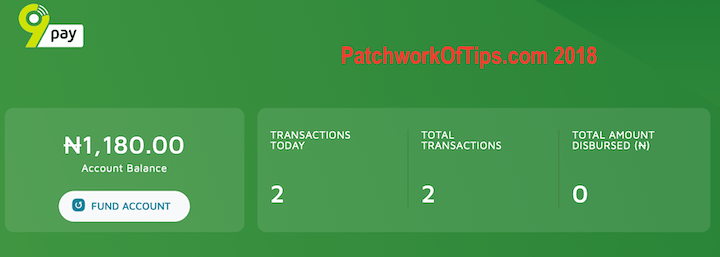
You need a debit card to fund your account. 9Pay claims to accept all debit cards but in my experience, it didn’t work with my FirstBank Naira MasterCard. I had to use the one from GTBank. Thankfully my token is still active as the yeye payment processor needs it to approve the payment. (How many people still use that token something sef in 2018? Hian)
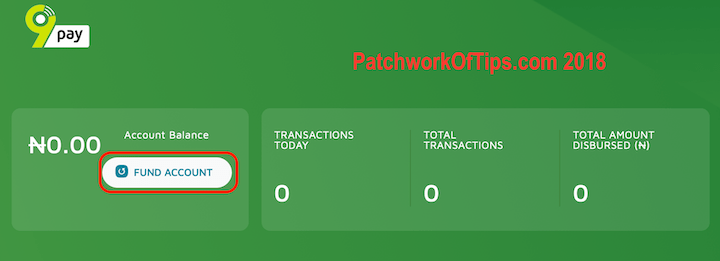
To fund your account, log in on your mobile phone or PC using Google Chrome preferably as for some reason each time I clicked on Fund Account as shown below, I got a blank screen on Safari for macOS.
Link 9Pay To Google Play Store
To link your 9Pay account to Google Play Store, I think you can do so by launching Google Play Store, go to Account in the sidebar then Payment Methods.
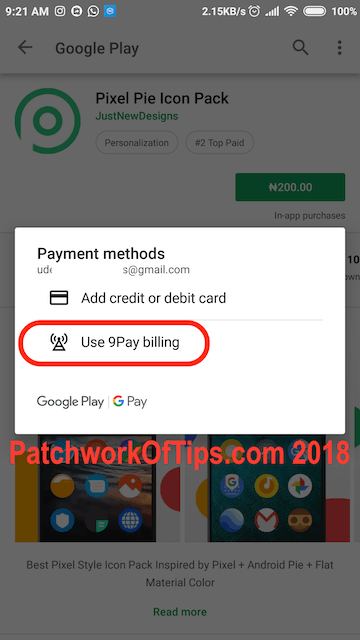
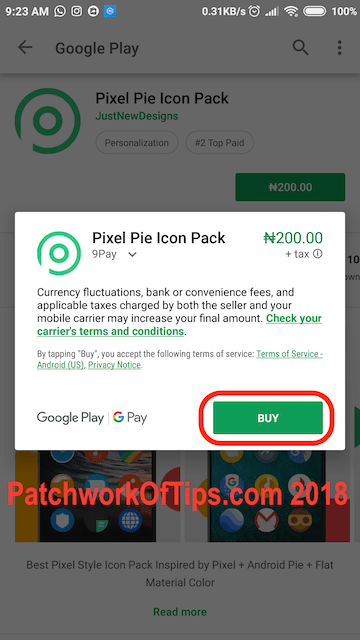
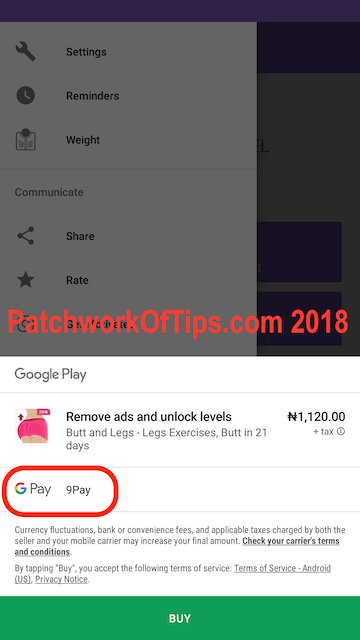
I linked mine by directly buying an app as shown below.

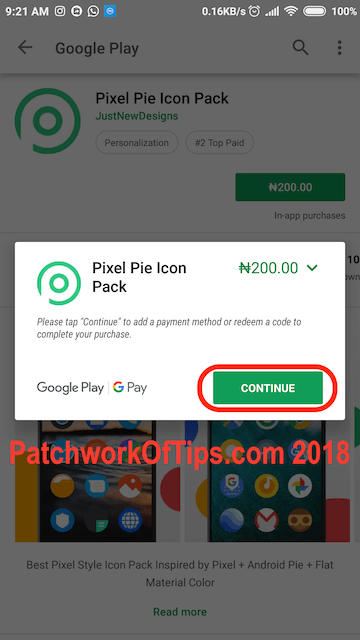
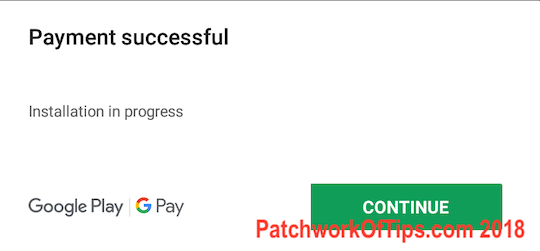
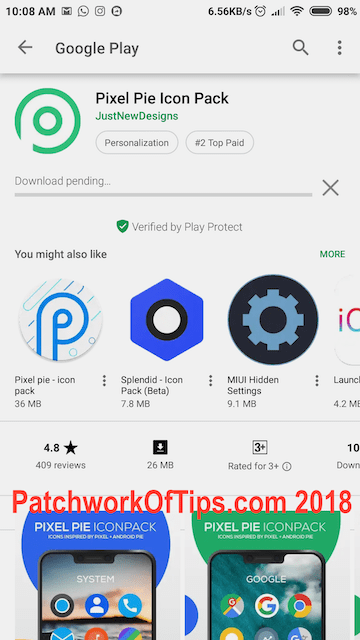
Sorry I couldn’t do any screenshots from this stage as the phone wouldn’t permit it. Security measures by Google I guess. Anyway once you’ve linked your 9Pay account, click on Buy and wait a few seconds.
Congratulations! You’ve successful linked your 9Pay account and made your first Google Play Store purchase in Naira.
9Pay Shortcomings
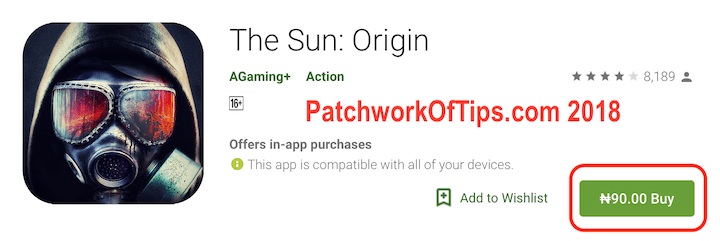
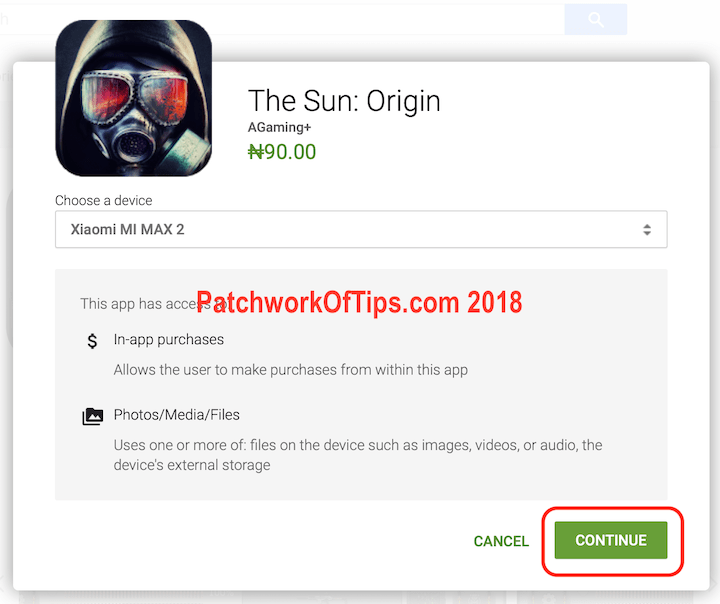
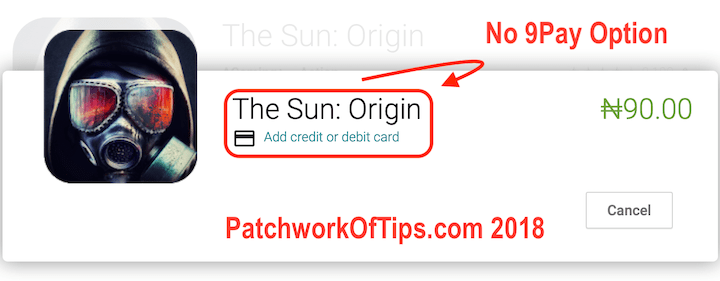
If you are one of those people that install/buy apps from your desktop browser, 9Pay will not work. I tried it and only got the credit/debit card option as you can see. It seems to only work directly on Google Play Store installed on smartphones and tablets.
On a good note though, you don’t need to have the 9Mobile SIM as your default/primary SIM once you’ve successfully set it all up and purchased your first app in Naira. I tried it on my WiFi only Lenovo Tab3 8 Plus and I was still able to purchase an app without entering my 9Pay details again.
UPDATE 5th November, 2018: So someone just pointed put to me that you actually need your 9Mobile SIM each time you wish to make a purchase on a SIM enabled device. So basically what I do now as a way around this, is to make payment on my tablet then proceed to download the app on my phone
In-app purchases can also be made using 9Pay but what I’ve noticed is that if you downloaded the app using a google account that accepts payments in dollars, you will be charged in dollars. To make in-app purchases in naira, you need to delete the app and install it all over again using your Google account which charges in Naira.
After doing this, I was still getting billed in dollars for in-app purchases but hours later (I think I cleared the cache on my device. I can’t remember now) it corrected itself and switched to 9Pay in-app billing.
Please don’t forget to spread the word by using the Facebook and Twitter buttons below. Thanks.
Please Rate This Post:You’ll also like:
Please share this article to help others. Thanks
