Given the fact that most Xiaomi phones sold by third-party resellers ship with customized ROMs which have been loaded with bloatware, I always make it a point to flash stock ROM once I buy them. Flashing the Xiaomi Redmi Note 2 is pretty easy (though it took a lot of trial and error to figure it out).
WARNING: There have been reports of people losing their IMEI when they flashed their Redmi Note 2. Such did not happen to me so if it goes wrong for you and you lose your IMEI info, I can’t be held responsible. On another note restoring your IMEI is pretty quite simple using Mobile Uncle Tools.
You might want to go the route of flashing stock ROM via Mi Recovery but I wouldn’t advise that as I tried that first before flashing in fastboot mode. Flashing in recovery mode created battery reading issues. The device will read 100% for like 2 hours and suddenly jump to 89% just like that. You fully charge the device switched off and when you turn it on the battery meter reads 93% instead of 100%.
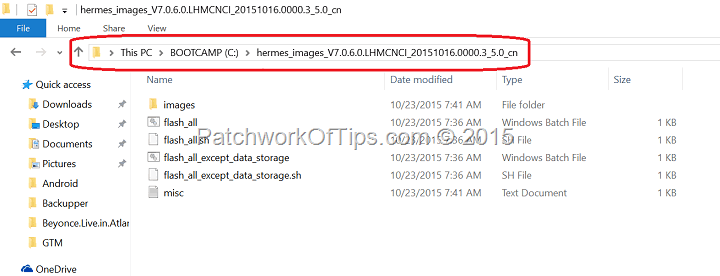
To begin simply download and install MIUI ROM Flashing Tool and the fastboot ROM for the Redmi Note 2 here. Install the flashing tool and then extract the fastboot ROM to the root of your C drive as shown in the screenshot below. I had issues flashing the device when the extracted folder was located elsewhere. I tried C drive and the flashing went through successfully.
Activate Developer options on your phone then enable USB debugging. Shut down the phone. Press down the Volume – and Power button at the same time then when the device vibrates, release the power button and keep pressing down the Volume – button until the Fastboot logo shows.
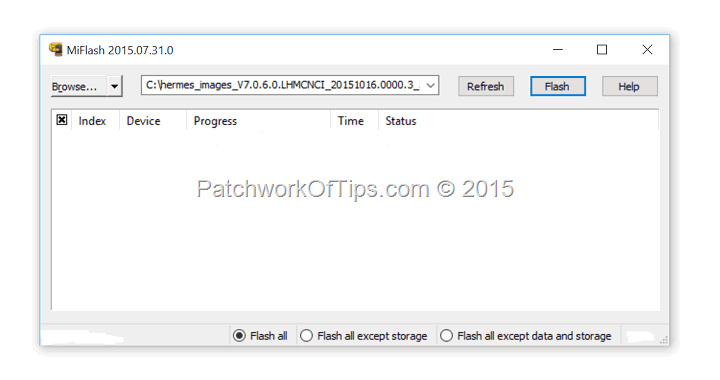
Once in fastboot mode, connect the phone to your computer then launch MiFlash
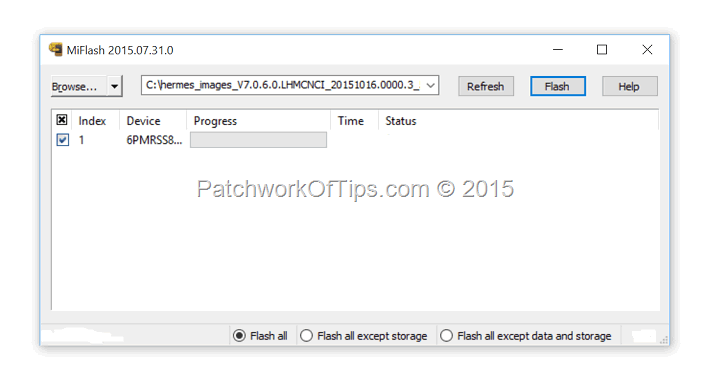
Click on the Refresh button and MiFlash will automatically detect your connected device
Click on browse and navigate to the folder containing the fastboot ROM files.
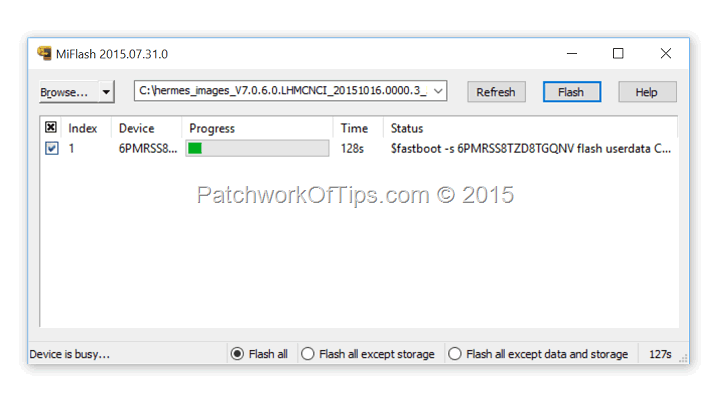
At the bottom of the screen are three options: Flash all, Flash all except storage and Flash all except data and storage. In my case I went with the Flash all option so as to completely get rid of all things that didn’t belong to the stock ROM.
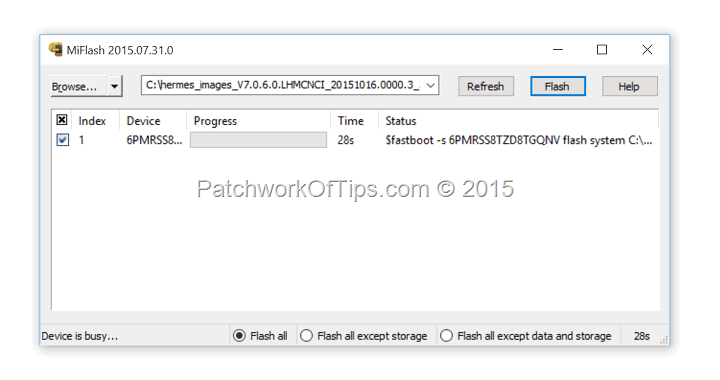
Click on Flash then sit back and relax as the flashing begins
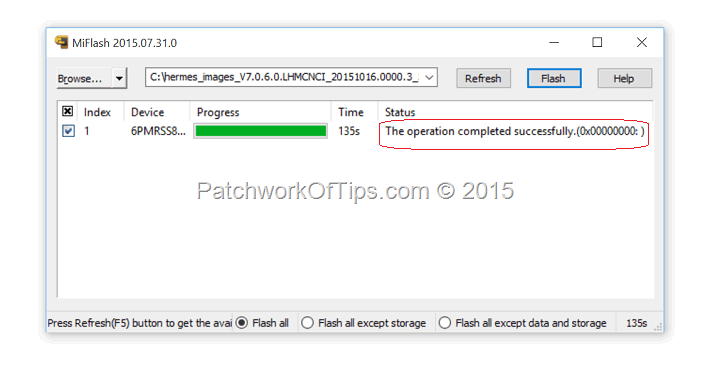
Once the process is complete, the entire progress bar will go green, the Status area will read; The operation completed successfully and your phone’s screen will go dark.
Unplug your device and turn it on. It should take like 3 – 5 minutes to completely boot and then you can setup your device.
Enjoy.
You’ll also like:
Please share this article to help others. Thanks
