UPDATE 20th May 2020: Doing a blur on the Preview appear Mac OS is impossible for now but you can totally delete parts of images you’d rather keep private and that’s what this guide achieves. Sorry for any confusion this guide might have caused.
===============================
The transition from a Windows PC to an Apple Macbook is never a smooth one as the Mac OS X platform is lacking seriously in apps. It’s safe to say Windows OS rules when it comes to computing worldwide.
Paint is one of those apps I miss sorely as it ships free with every copy of Windows and allows me to do some basic picture editing. Blurring or deleting parts of pictures I’d rather keep private was one of the main functions of the Paint app for me and apparently the Mac OS equivalent of Paint titled Preview doesn’t have that option.
But I recently discovered a workaround
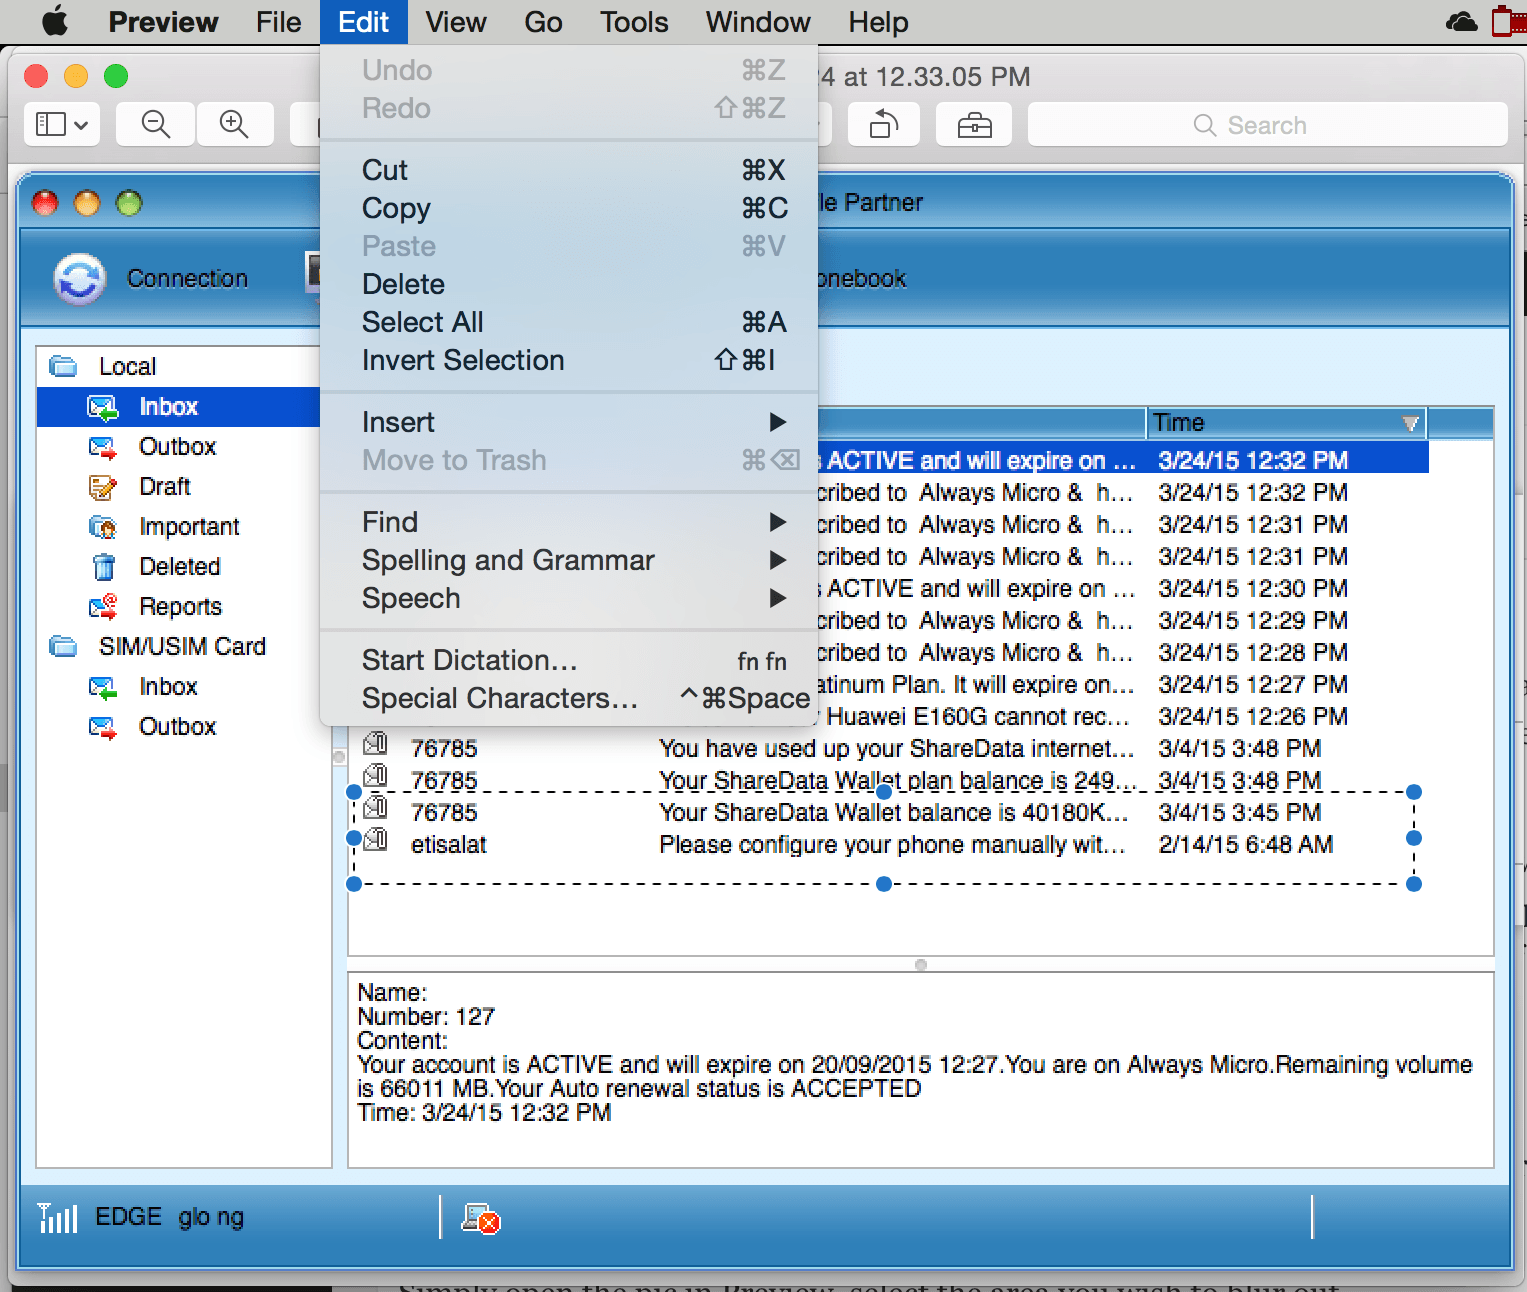
Here’s how to use Mac OS Preview app to blur, hide or delete any part of a screenshot or picture you’d rather keep private.
You can watch it here or continue reading below. NOTE: Please watch this in 1080p. For some reason iMovie keeps exporting it in very poor quality. Thanks
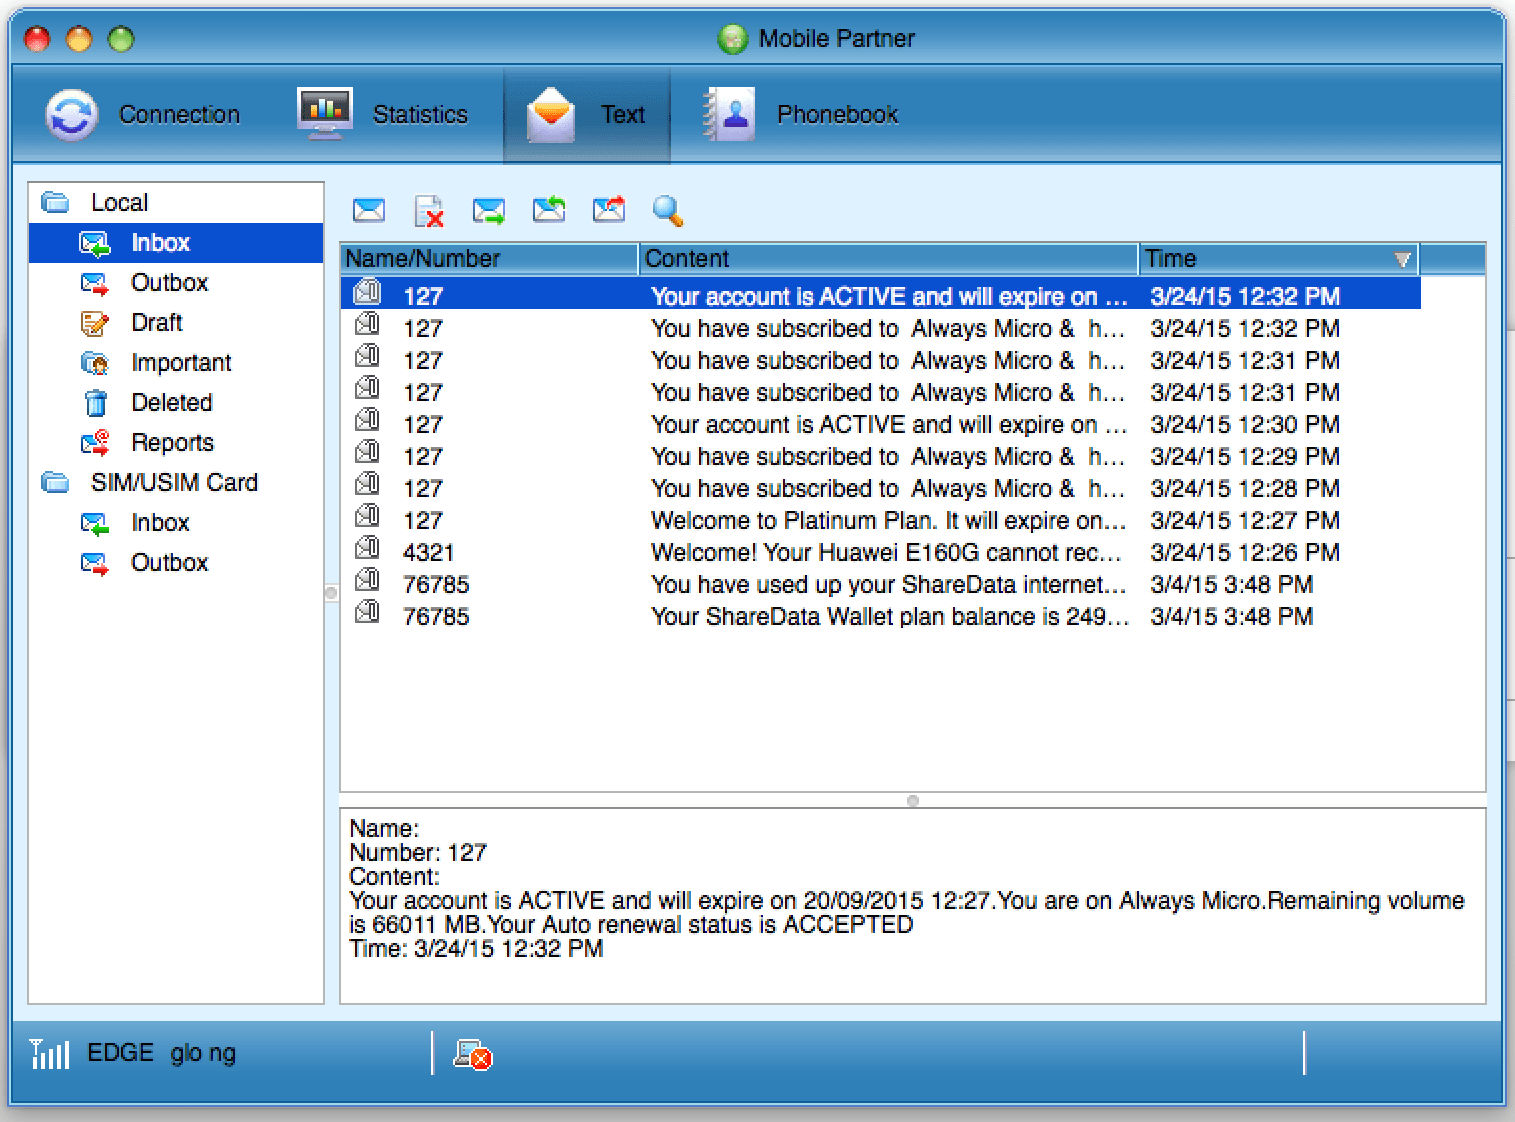
Simply open the pic in Preview, select the area you wish to blur out then go to the menu bar >> Edit >> Delete and the selected part will be grayed out or appear blank.
Do have a great weekend ;-)
You’ll also like:
- TripMode For Windows Review: Mobile WiFi Data Usage Monitor
- How To Install Windows 10 Technical Preview On A Macbook Pro
- How To Get Windows Taskbar On Apple Mac OS X
- Quick Tip: How To Delete - Reinstall Safari For Mac OS
- How To Monitor Mobile Data - WiFi Usage on Mac OS X
Please share this article to help others. Thanks

