As some of you already know by now, I finally received my 13″ Apple MacBook Pro Retina last week Friday. All plans to announce its arrival was shut down abruptly that same day when in the process of setting up Windows 8 via BootCamp, I messed up the partitions and ended up with a MacBook sans operating system.
I cried myself to sleep that night (I kid you not) pissed at myself for playing the geek in murky waters.
It took a visit to the iStore showroom at Ikeja City Mall in Lagos, to get things fixed partially. They were able to fix the partitions via thunderbolt in target mode but restoring the operating system had to be done online and the network was pretty f**king slow. In the end I returned to Sokoto with a dead MacBook which I later revived in 2 hrs at night thanks to the amazing download speeds offered by MTN Nigeria.
The list below should guide on what to do before and when your MacBook arrives so you don’t end up wasting extra dough on stuff like high volume data plans
Let’s begin
Things To Do Before Your Apple MacBook Arrives
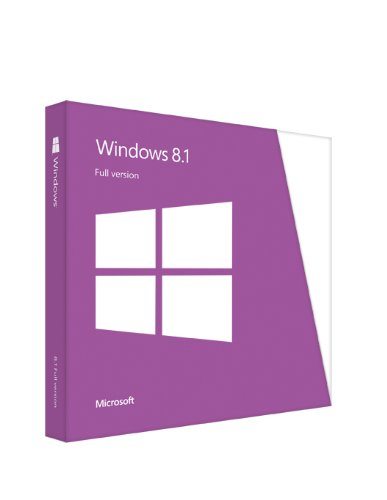
If you plan on installing Windows 8 via BootCamp on your Mac, your Windows 8 upgrade license won’t cut it at all. You need to get Windows 8.1 full version which costs like $120 at the moment. I was able to purchase the much cheaper students only offer at $69.99. Check out Windows 8.1 Pro for Students.
You need to get an 8GB flash drive for the whole BootCamp thingy. I tried using my 500GB hard drive but the damn thing wouldn’t budge and it was the initiator of my woes that fateful night.
You can get a branded 8GB flash drive from Amazon from $5 – $10 depending on brand and your taste. Click here to purchase an 8GB flash drive
You also need dedicated external hard drives to store your Time Machine backups and other backups. Time Machine is a pre-installed app that helps you back up your Apple MacBook OS for easy offline recovery should your OS crash. It only works on HFS+ drives, so if you have different partition formats on your system, only the HFS+ one will be backed up by Time Machine.
I’m currently using my old copy of Acronis True Image 2013 to backup my Windows partition only while Time Machine handles the Mac OS partition. Paragon Hard Disk Manager 14 seems to be support backing up the entire HDD or SSD irrespective of the partition formats within. I’m yet to test it though as I don’t have a spare external HDD.
When purchasing an external portable HDD, please do yourself a favor and get one that supports USB 3.0. My 1TB Western Digital My Passport works so much faster on the MAC than on my previous Dell PC. Thanks to USB 3.0 technology and thanks to @AdNikky for the cool advice.
Click here to purchase dedicated external hard drives for your data and backup needs
The Most Important Thing You Need To Do When Your MacBook Arrives
Apple by default ships their laptops without recovery data. You get no internal or external recovery media. MAC OS Recovery is done online only. I learnt this the hard way after I spent N15000 ($90) on several data plans to download the damn thing.
It weighs a whooping 5GB and depending on the speed of your data connection, it could take hours to complete especially for those of us in locations with sparse high speed internet connection.
My advice here is as soon as you set up your MAC and arrive at the desktop, launch Time Machine immediately and back up the OS to your external hard drive before doing anything else.
I repeat the first thing you MUST do when you turn on your MAC for the first time is to run Time Machine and backup the OS.
Failure to do this could cost you dearly. You’ve been warned!
Hopefully I’ll be posting a quick review of the 13″ Apple MacBook Pro Retina (Late 2013) soon. I’m just about done with transferring all my data from the PC to the MAC so I’ll be focusing more on working extensively with the MAC to see makes it tick or not.
Do have a great weekend ahead. I’m out.
You’ll also like:
Please share this article to help others. Thanks


