Are you having issues with battery life on your android device? Have you tried so many battery saving apps without results? Why don’t you give Greenify a try and see it helps solve your dying battery problems once and for all.
Greenify works by simply force stopping any app of your choice when the screen of your android device goes off. It also prevents certain apps from waking up and running in the background, draining your battery. These apps that wake up in the background sometimes carry out CPU intensive processes that drain battery while your device is in standby mode.
This is a quick guide on setting up and working easily with Greenify
NOTE: Greenify does NOT require root BUT it works so much better without further user interaction needed if the device is ROOTED.
You CANNOT Greenify system apps like Google+ , Maps, Hangout etc. To greenify system apps, you will need to buy the PRO version OR convert system apps to user apps via a ROOT app like Titanium Backup Pro.
Once an app is *greenified*, it will not run again until you launch it yourself.
Not to worry, Greenify is quite intelligent in that it does not shut down apps you’re actively using when the screen goes off. Say you’re watching a movie or playing a game and you leave your phone for a minute to go take a leak and the screen turns off. You can be rest assured to continue where you left off when you turn the screen back on.
For rooted android devices, Greenify gets to work like 30 seconds to a minute after your screen goes off.
How To Setup Greenify For Android
Click to download Greenify Free Version
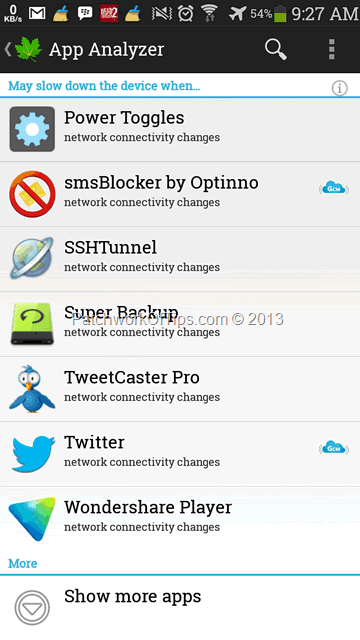
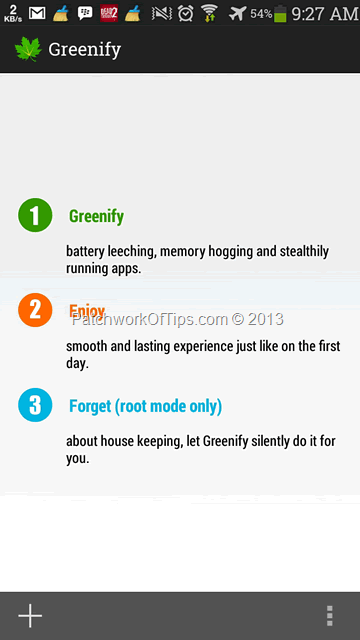
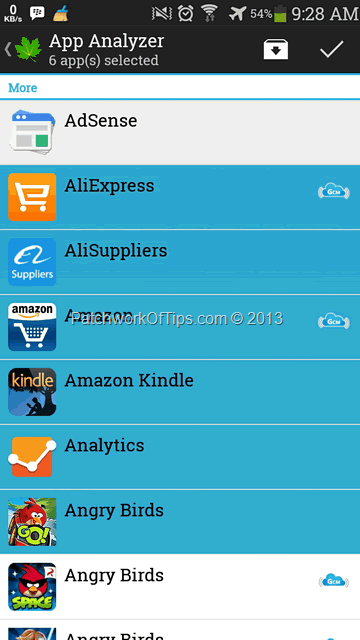
Launch the application. On the screen that looks like the first screenshot below, hit the + button at the bottom left hand corner. Scroll down the next page to More ( Show more apps) and click on that
Now start selecting the apps you wish to Greenify as soon as your screen goes off.
WARNING: Do not make the mistake of adding apps you rely on for instant notifications such as Alarm apps, instant messaging apps, Twitter, Facebook and what have you UNLESS you’re sure you don’t need their instant notification feature.
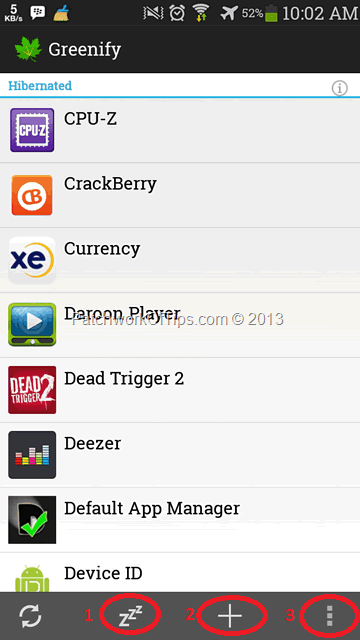
Once you’re done selecting the apps you need, click on the TICK sign at the top right hand corner of the screen and that should take you to the next page where your selected apps would be listed as PENDING or HIBERNATED.
To hibernate all pending apps immediately, click 1 as circled below. If you wish to add more apps to the list click on 2. If you wish to remove an app from the list, simply select it, tap on 3 and select Degreenify selected apps
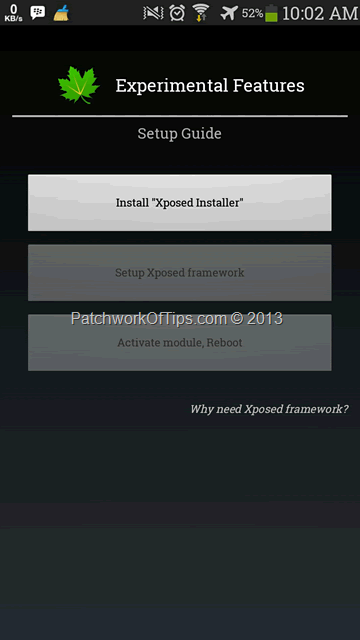
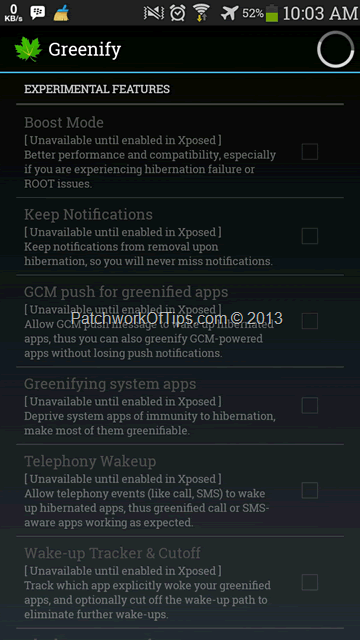
There are experimental features you can activate to make Greenify work better. Click on 3 (Menu) >>> Experimental features. For you to be able to use this, your device must be rooted and you have to setup Xposed Framework. Greenify guides you through that if you don’t know how to do it.
Read: What is Xposed Framework For Android & How To Configure It [Guide]
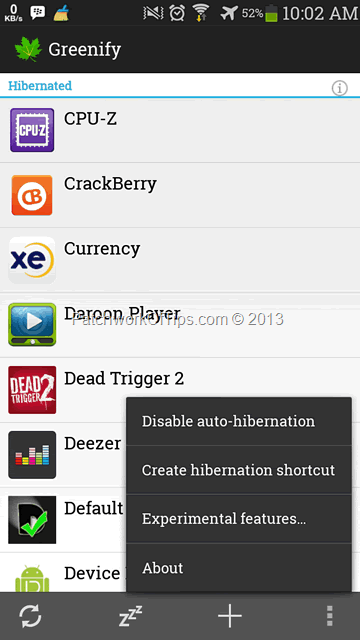
Experimental features, some of which are only available via the Pro Version, include Greenify System Apps, Telephony Wakeup and Wakeup Tracker as well as GCM Push for greenified apps which basically allows google push notifications to wake up certain greenified apps.
Well guys, that’s all there is to setting up Greenify for optimum performance. Feel free to share and leave a comment below. Thanks
P.S: Thanks to one of our readers now turned XDA Recognized Contributor, Stanley, for guiding me through the setup process. I insist you check out his article on tweaking his Samsung Galaxy Note 3 for maximum battery life: MAXIMIZE the Battery Life of your Note 3 (Fix to Battery Drain issue).
Truly brilliant stuff
You’ll also like:
Please share this article to help others. Thanks
